

T-Shirt Design Studio / Tool – HTML5 Supported Mobile Compatible
$350.00
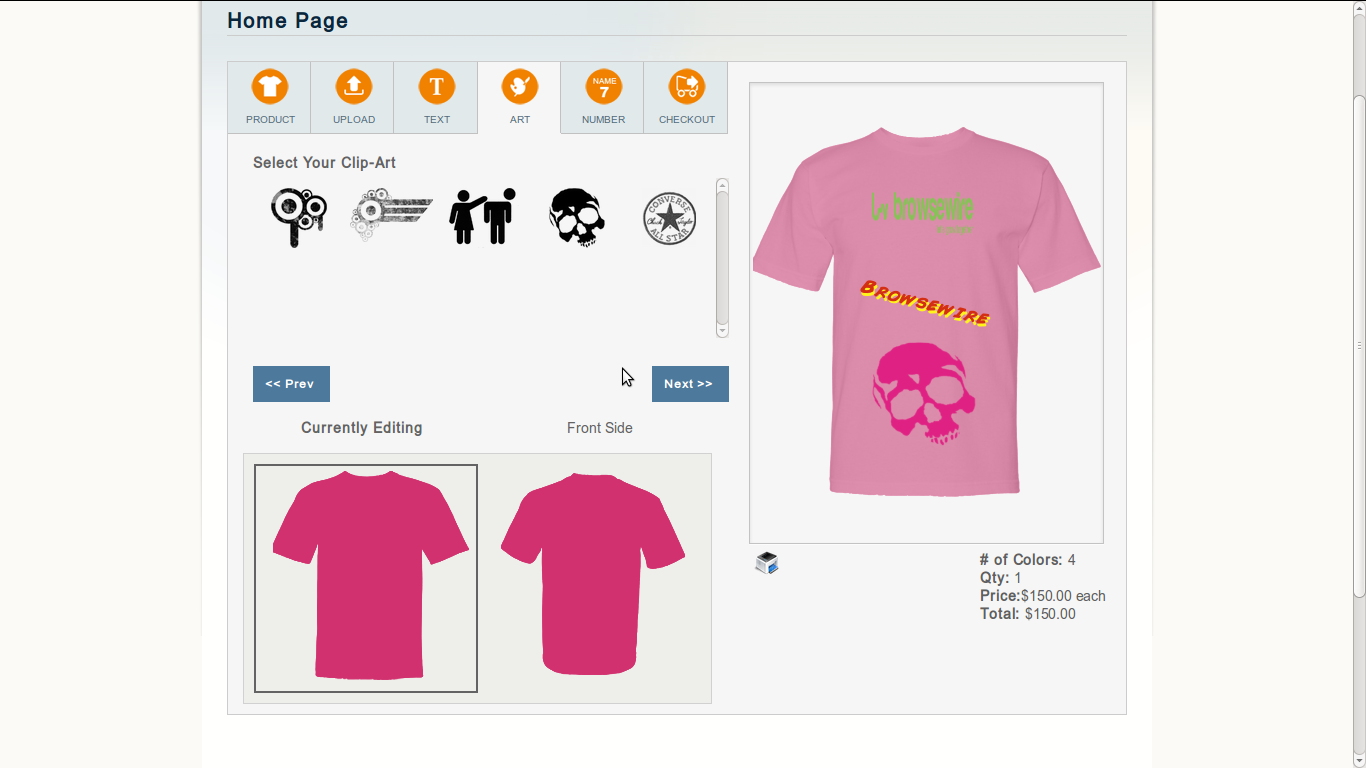
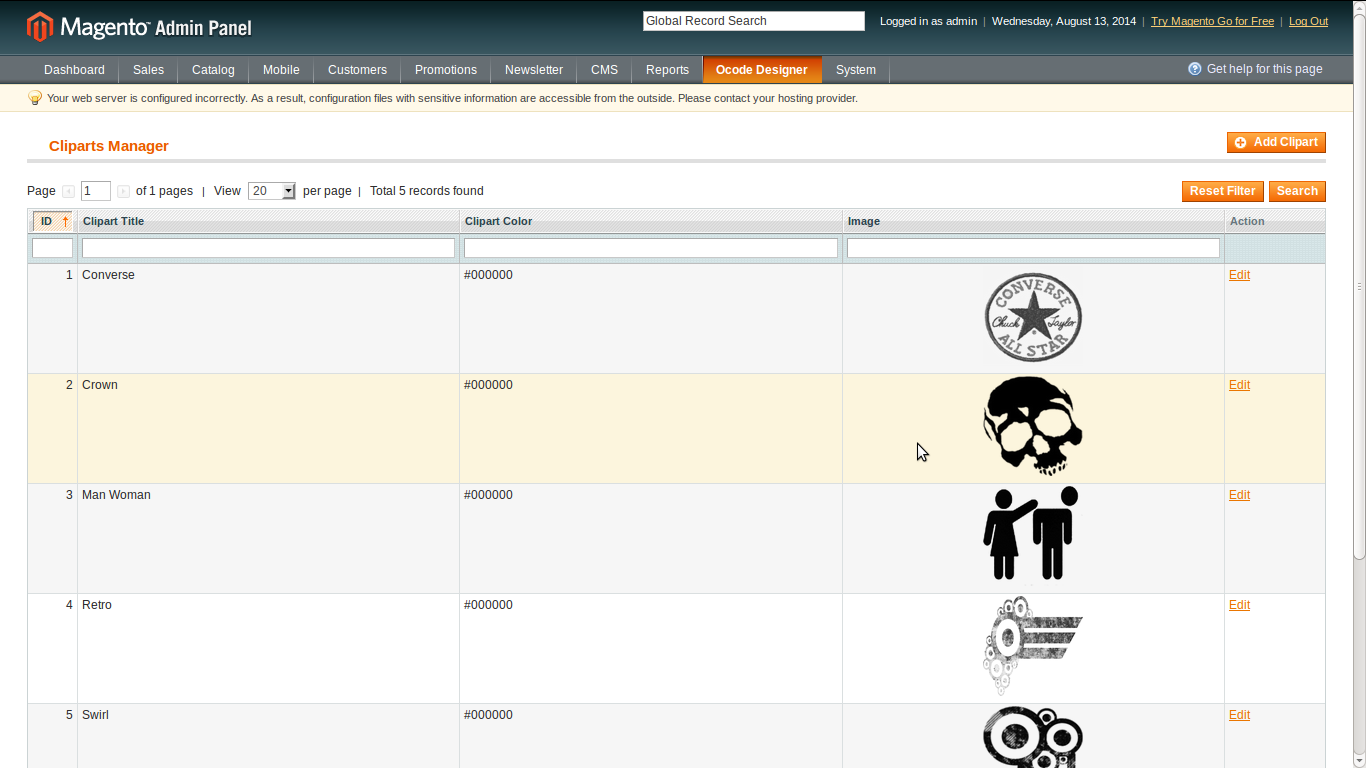
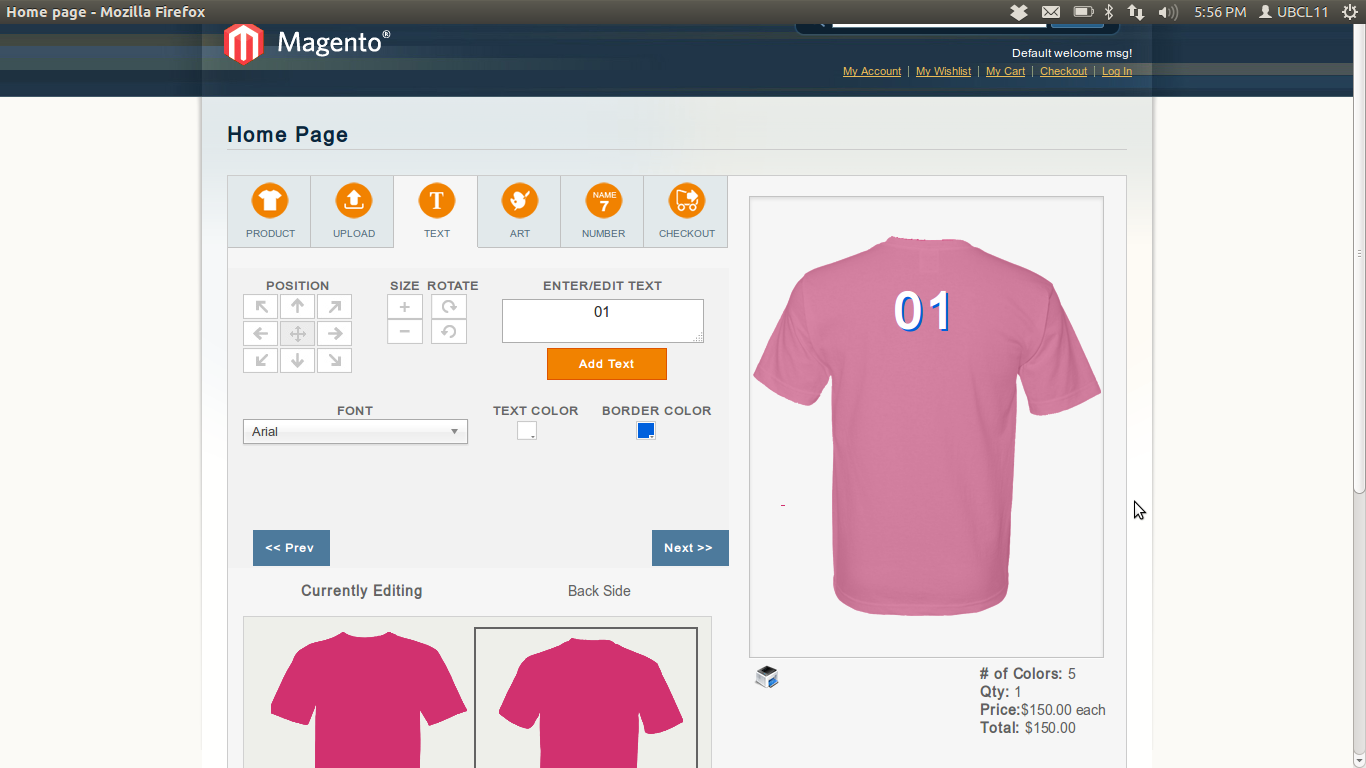
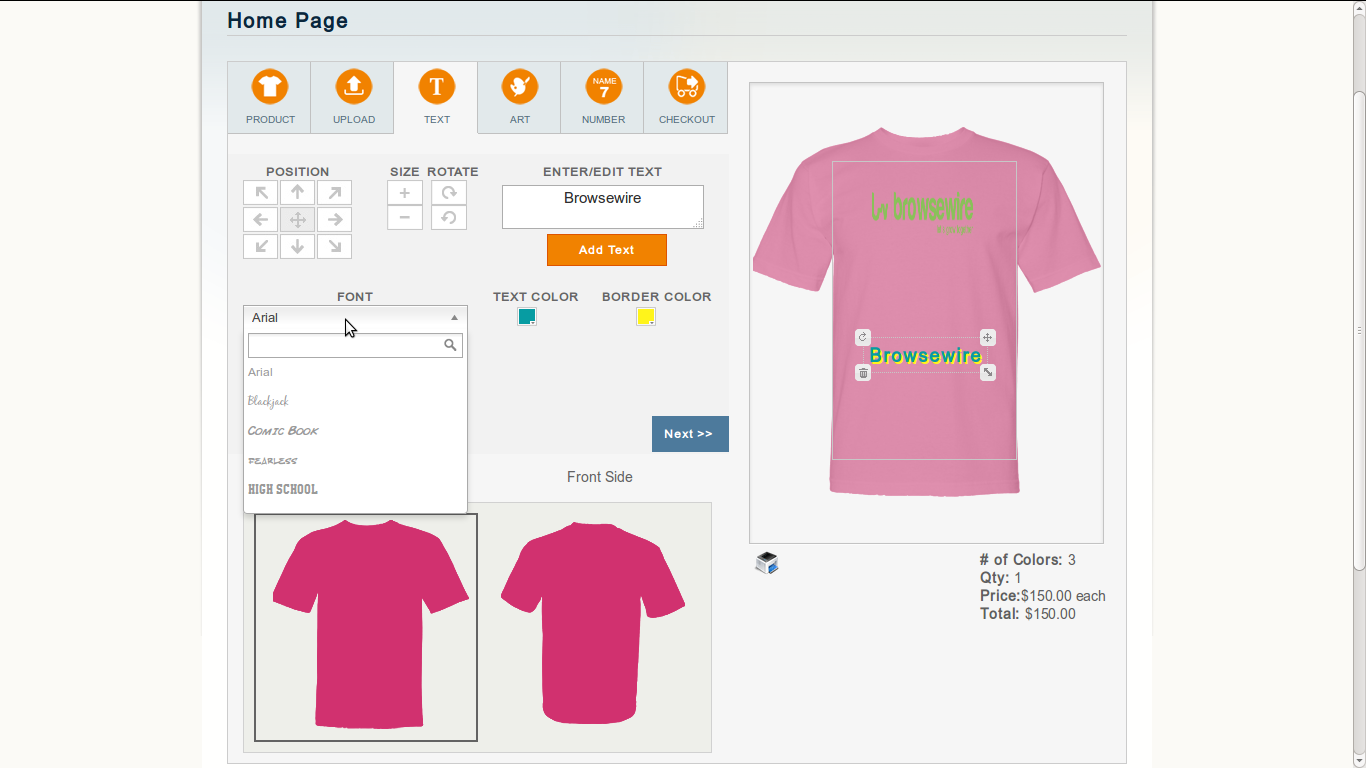
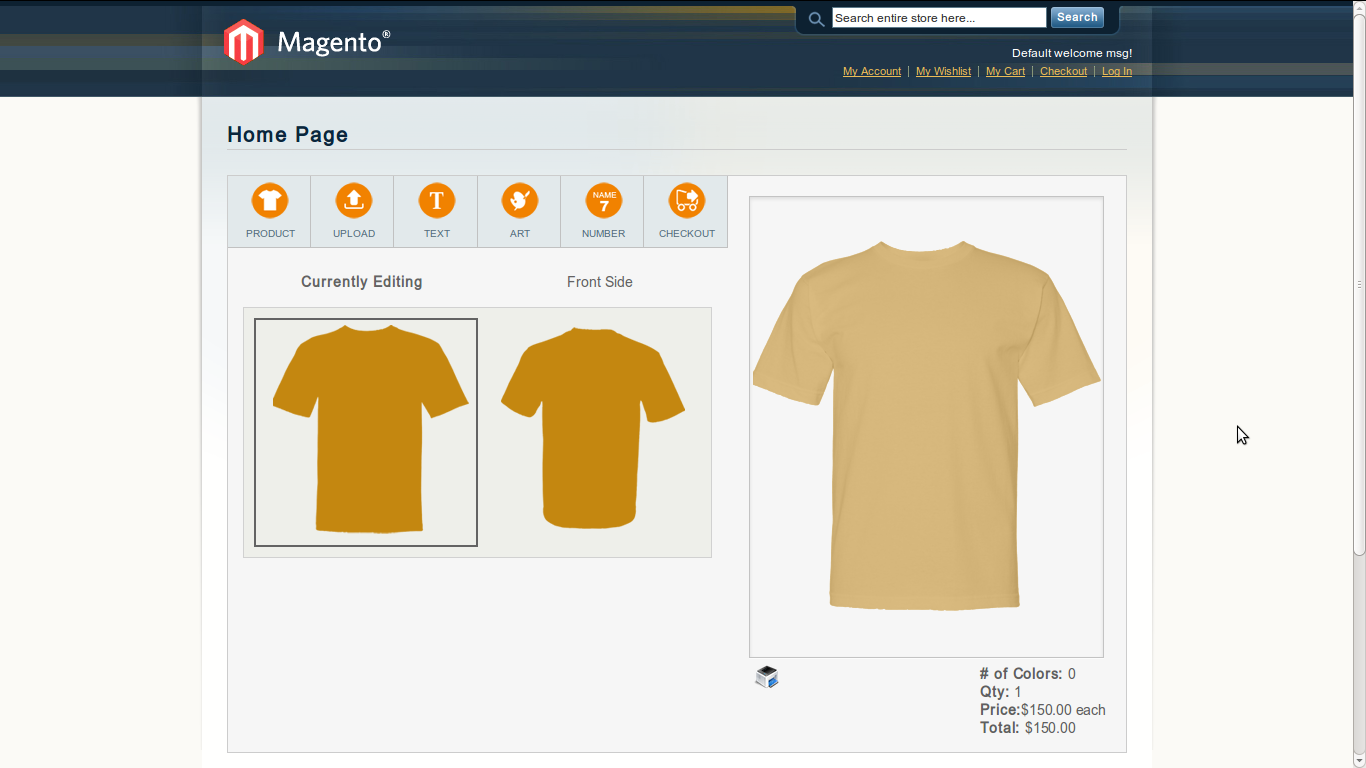
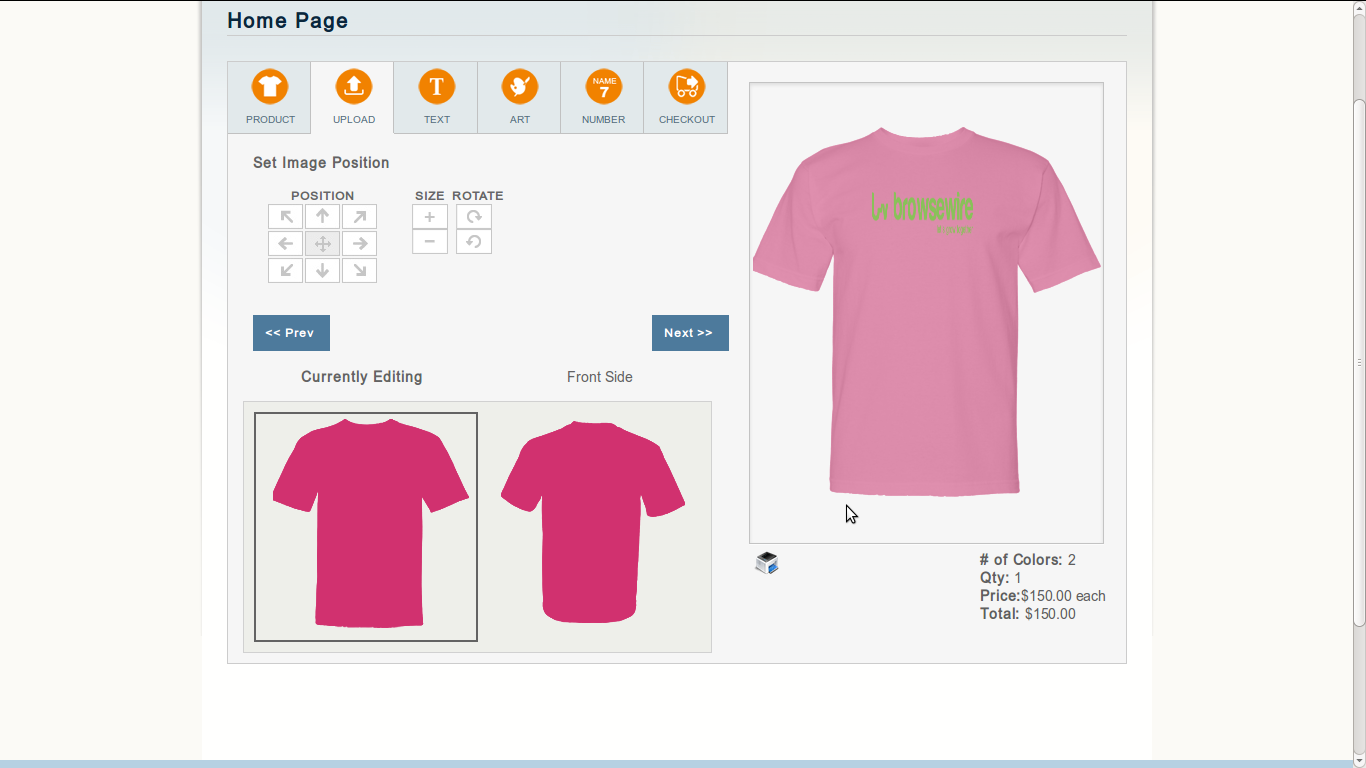
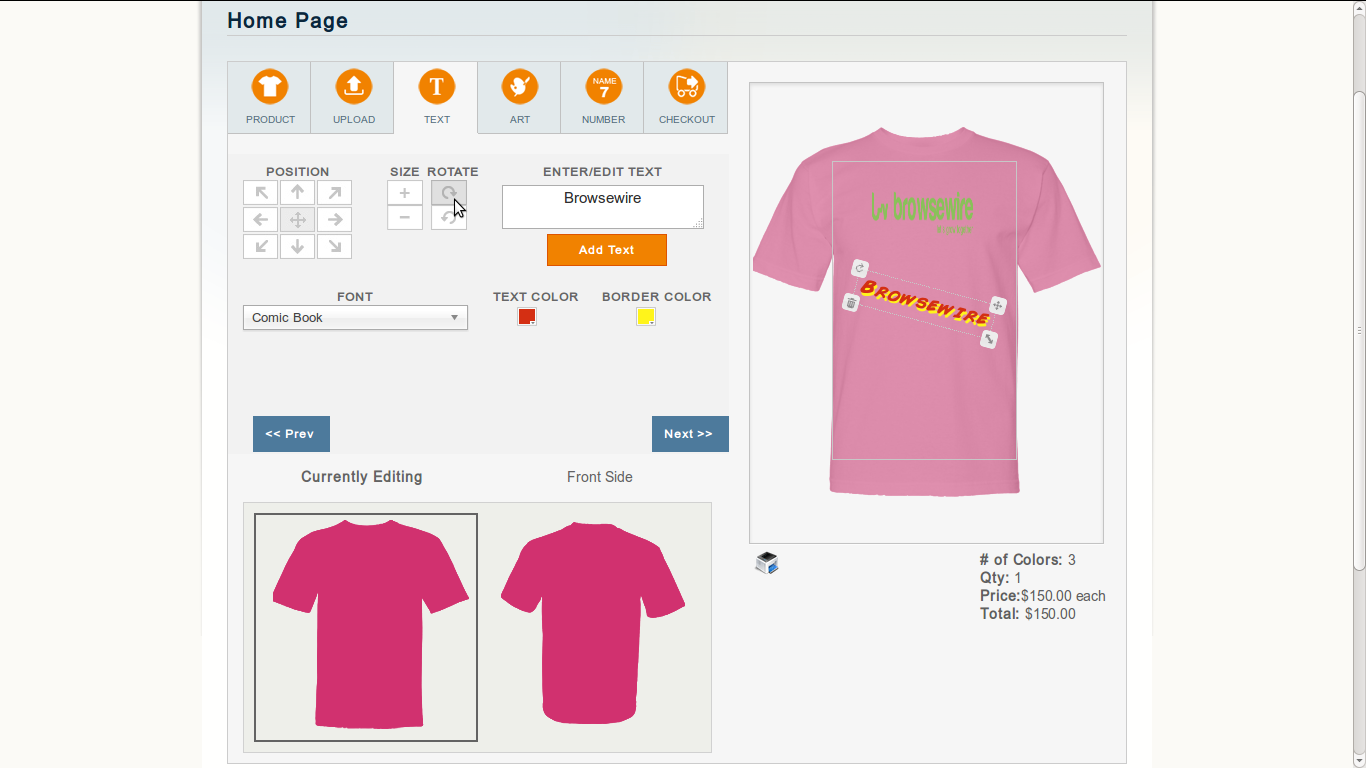
Allow your customer to design their own T-shirt in your store with the help of Ocodewire Designer Extension
Description
Allow your customer to design their own T-shirt in your store with the help of Ocodewire Designer Extension